What is a User?
Users are typically part of the creative team, and are responsible for the creation and management of a company's creative assets. They require a unique login to inMotion.
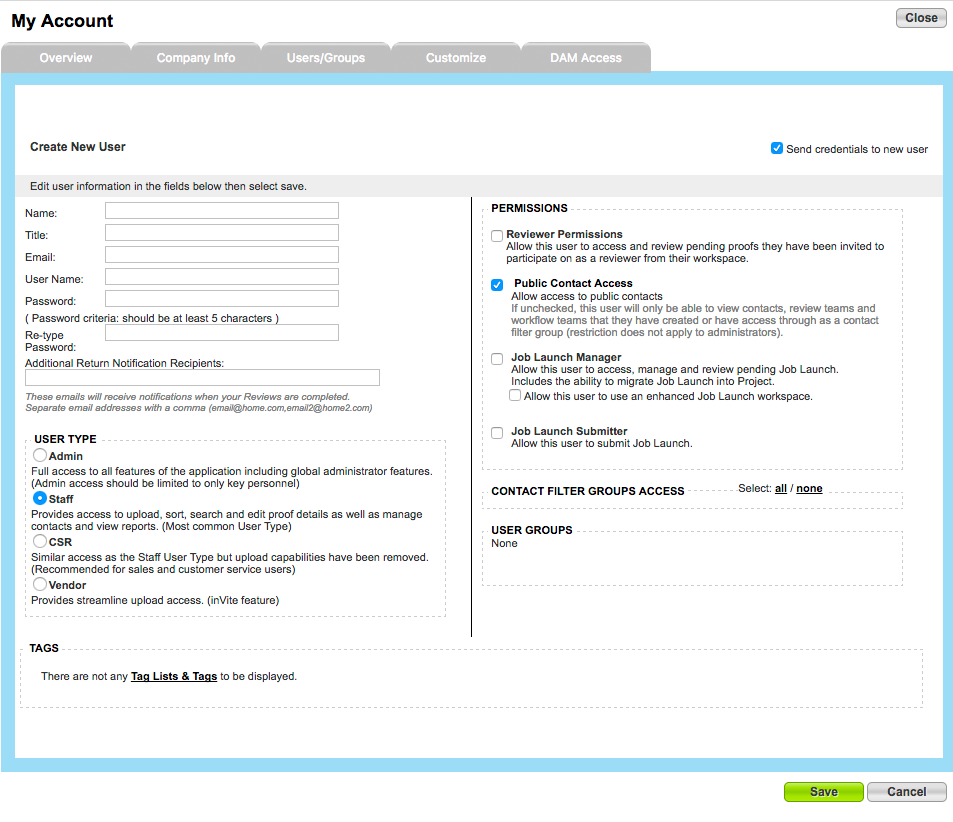
Adding New Users
- Go to Account > Account Settings > Users/Groups
- Click 'New User' to begin.
- Enter in the appropriate user details and assign permissions as applicable.
- Click 'Save' to create the account.
User Types
User Types are assigned to team members based on their role and responsibilities within the team. Users typically fall under four different categories:
- Admin - This permission level gives the user access to everything within your workspace including all functionality and global Account Settings.
- Staff - This permissions level has full functionality ability with no access to global Account Settings.
- CSR - This permission level has limited functionality. CSRs can view returned proofs, re-notify reviewers, and view project information. This is primarily intended to provide Read-Only access. CSRs cannot make any changes or add contacts.
- Vendor - This permission allows external users to post content for review and view feedback on uploaded content. This user type is not available by default and can be turned on by request.
User Permissions
Some unique permissions can be applied based on the User Type selected:
- Reviewer Permissions - Gives them access to the My Reviews tab if they have a contact record. Can be applied to an Admin, Staff or CSR user type.
- Public Contact Access - Gives them visibility to all contacts who aren’t marked as “Private.” Can be applied to a Staff user type.
- Job Launch Manager - Gives the user access to the Job Launch Workspace where all new Job Launch requests are managed. Job Launch Managers can be notified by email when specific forms they’re assigned to have been submitted. Can be applied to an Admin or Staff user type.
- Job Launch Submitter - Gives the user access to the My Job Launches space. From there, they can submit any forms to which they’ve been given access. Can be applied to an Admin, Staff or CSR user type.
- Task Resource - Allows this user to be assigned to tasks and show as a resource on the Assign Resources screen. When this is disabled, the user can still be assigned as a team member to an overall project.
- Project Schedule Manager - Gives the user access to the Project Schedule page, with the ability to create or edit tasks. When this is disabled, the user can be assigned tasks but will not be able to edit their own deadlines or task details.
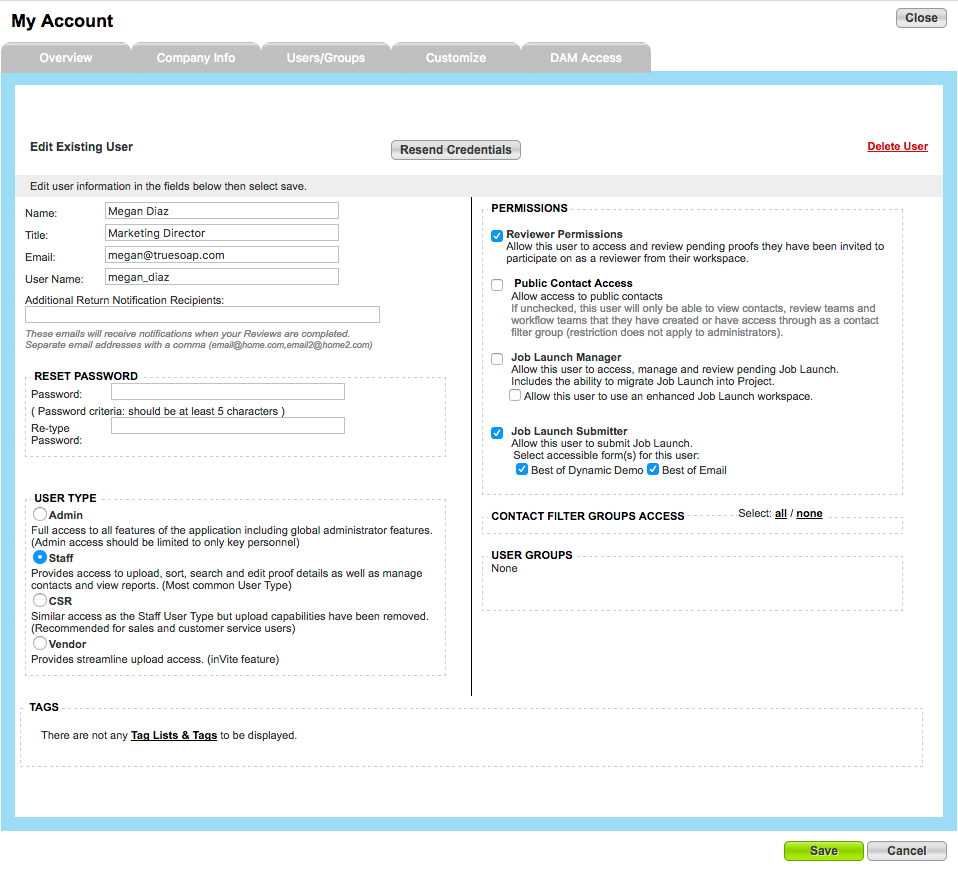
Editing and Deleting Users
1. Go to Account > Account Settings > Users/Groups
2. Click on the user you wish to Edit or Delete.
3. To delete, click 'Delete User' in the top right corner.
4. If editing, make any necessary changes and select Save.